Update time: March 13, 2026
This guide explains how to properly set up Google Analytics 4 (GA4) using the gtag.js tracking code, from property creation to installation and verification.
Step 1:Create GA4 Property
To begin, log in to GA4 and navigate to「Admin」——「+Create」——「Property」:
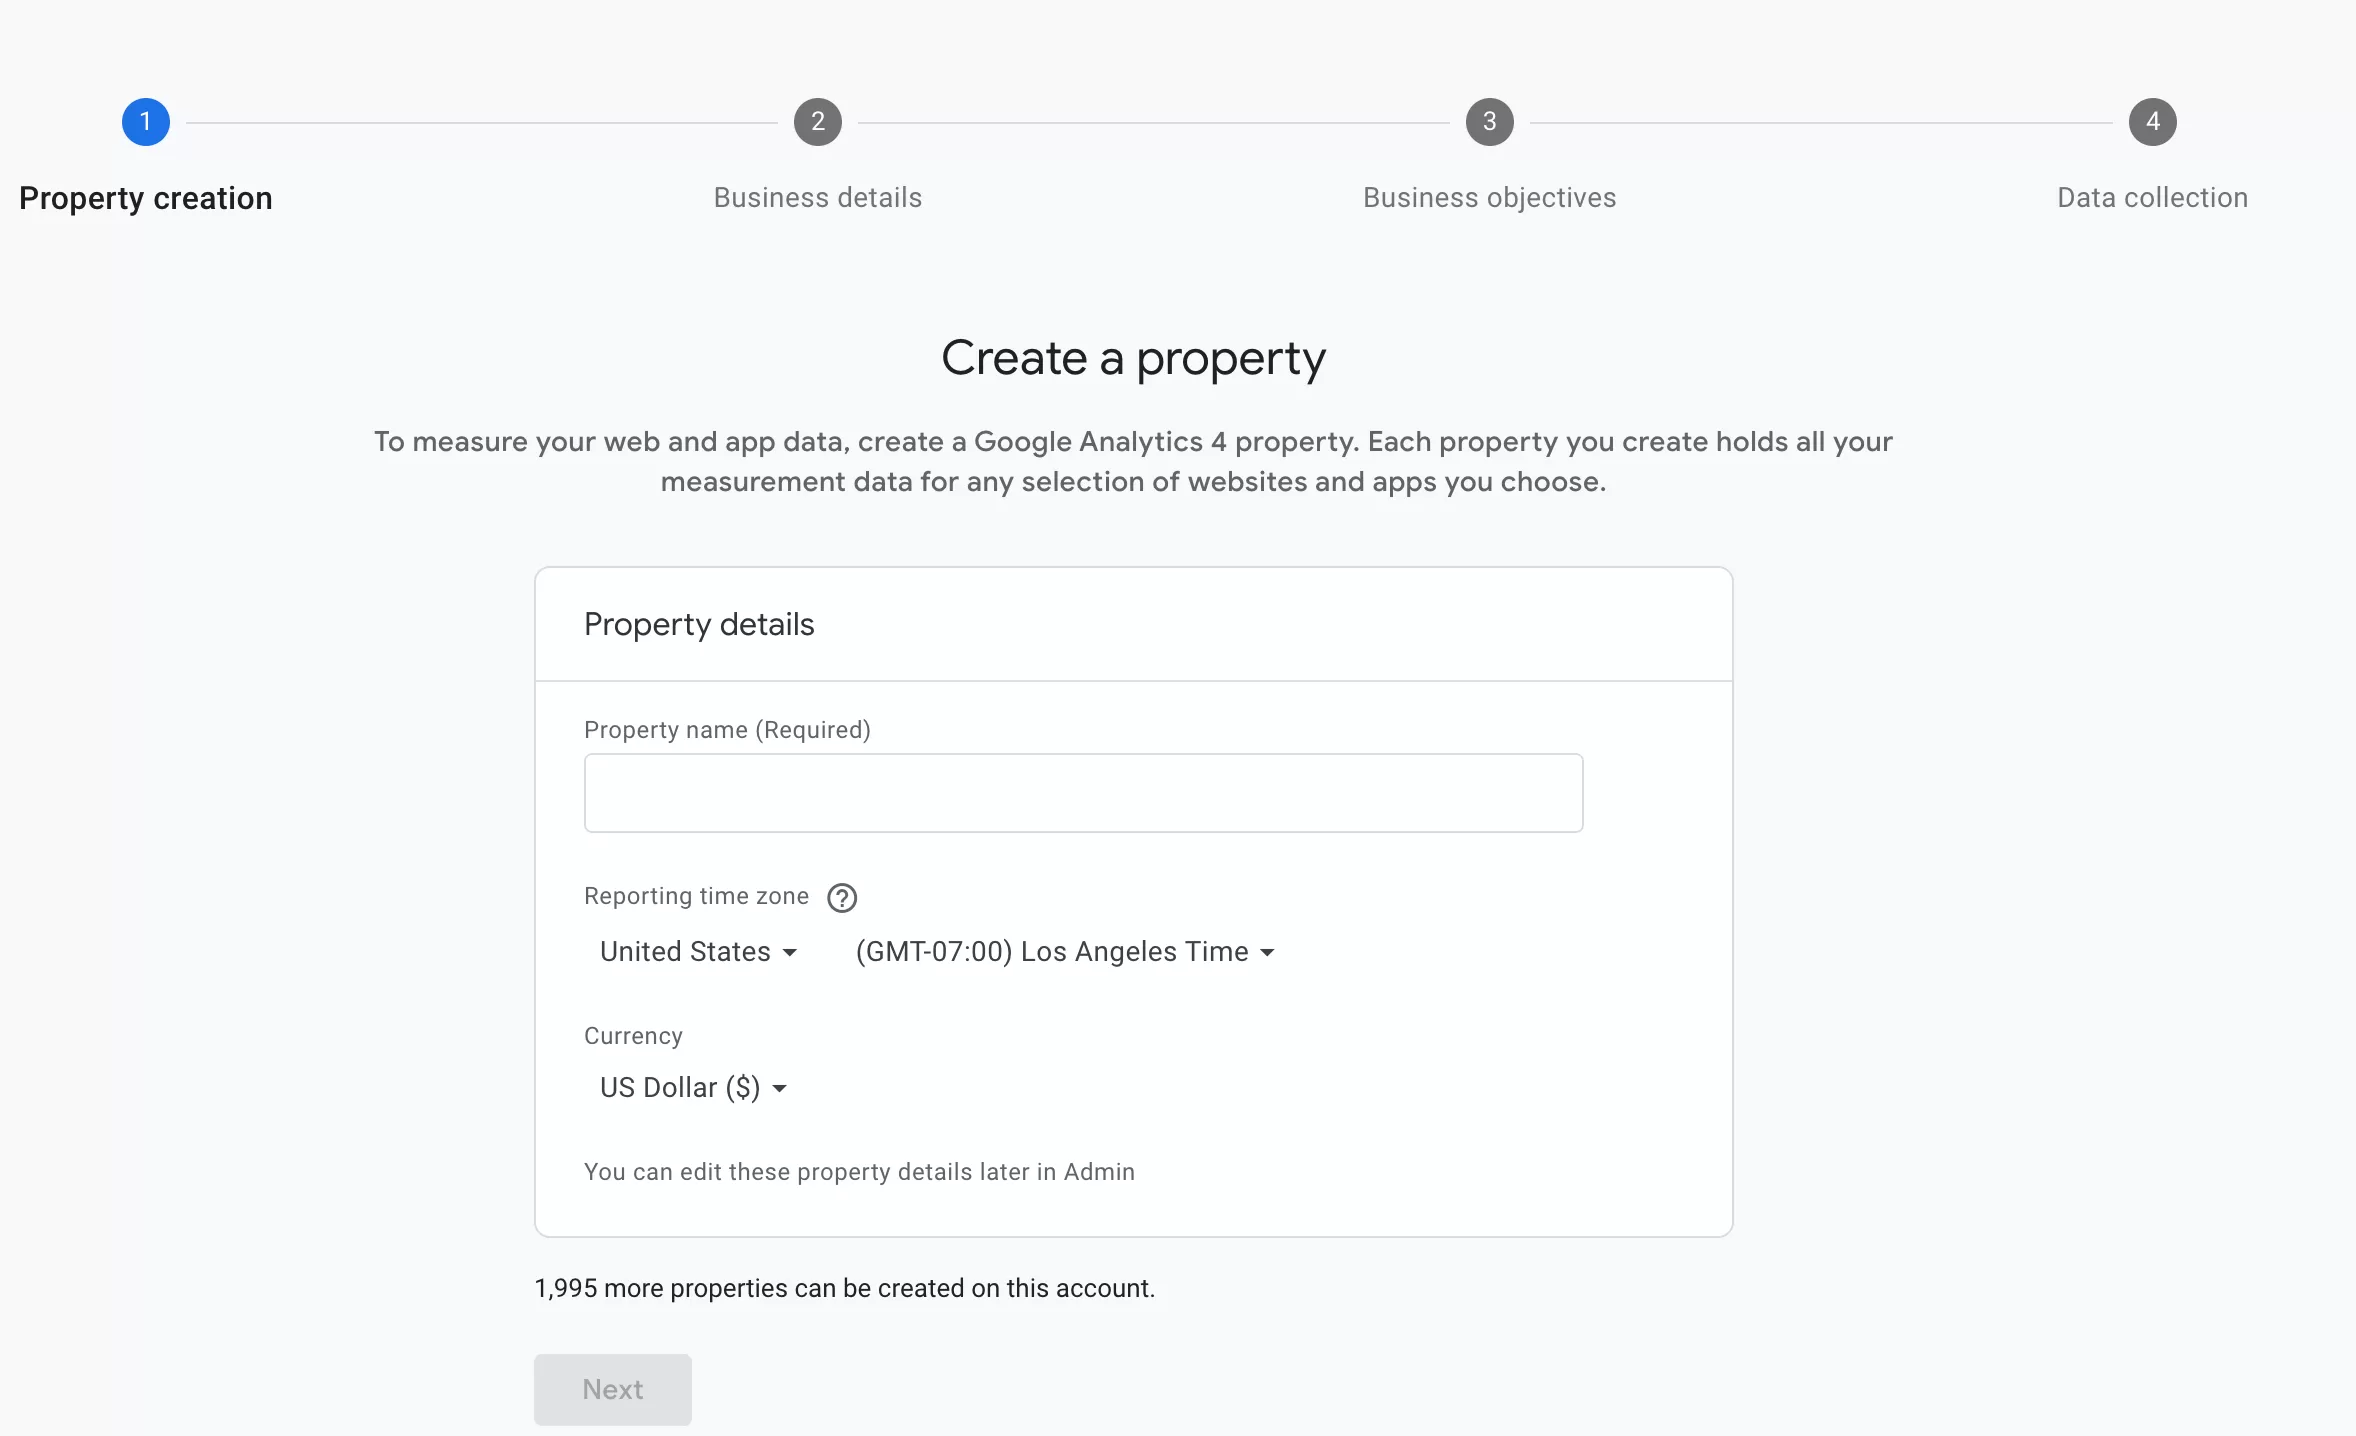
Create Property
Then configure the basic property settings: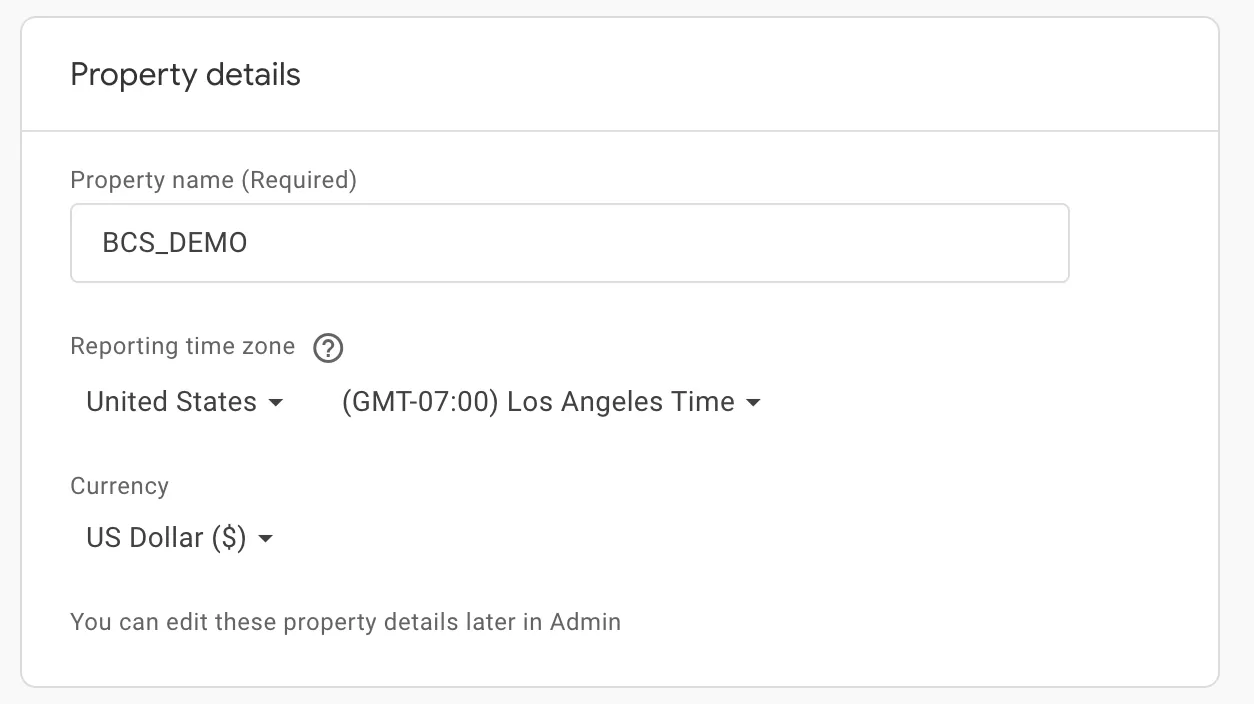
- Property name: Use your website domain (recommended for clarity)
- Reporting time zone: Select your local or business time zone
- Currency: Choose the currency used for reporting and e-commerce data
Click 「Next」to continue.
Business Details
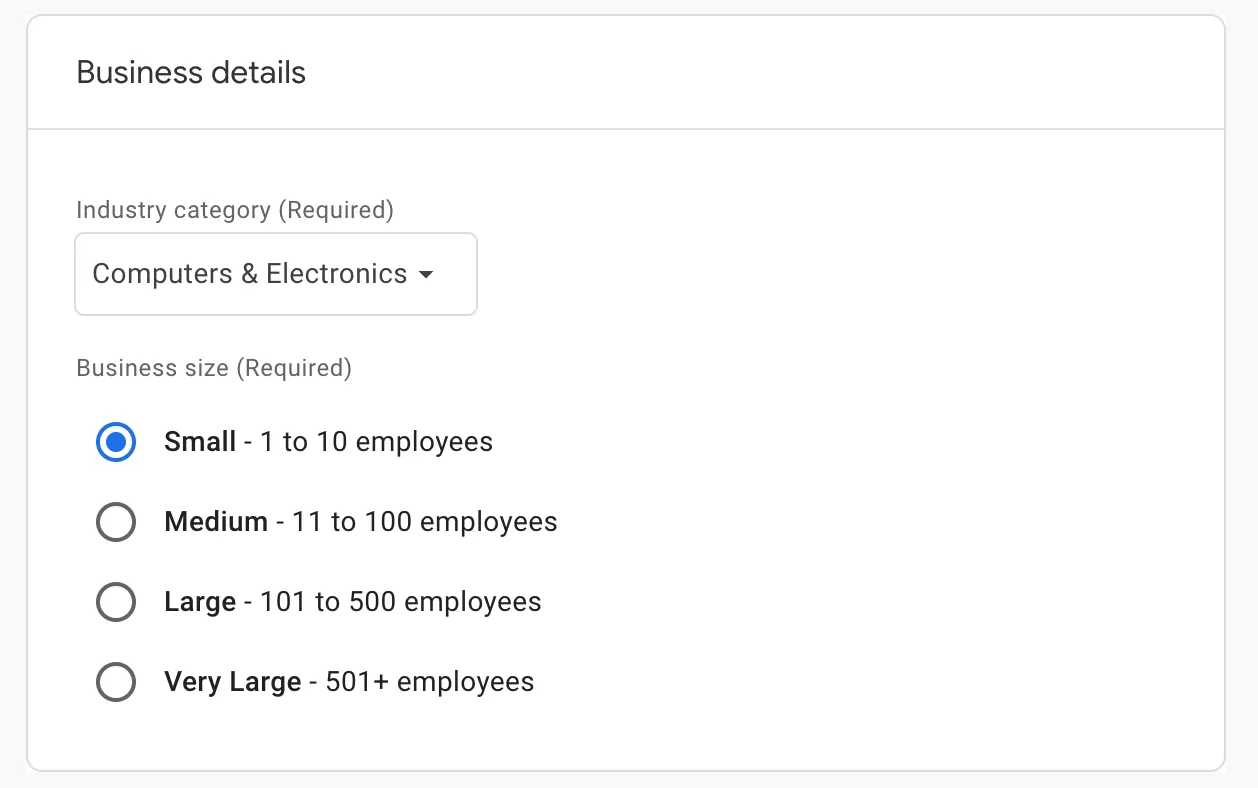
Next, Google Analytics will ask for business details. These are used to improve reporting insights and recommendations.
- Industry category (Required): Select the most relevant industry for your website or business
- Business size (Required): Choose the number of employees in your organization
Business objectives
In this step, GA4 asks for your business goals.
These settings help Google Analytics customize default reports and insights based on your use case (e.g., lead generation, sales, traffic acquisition).
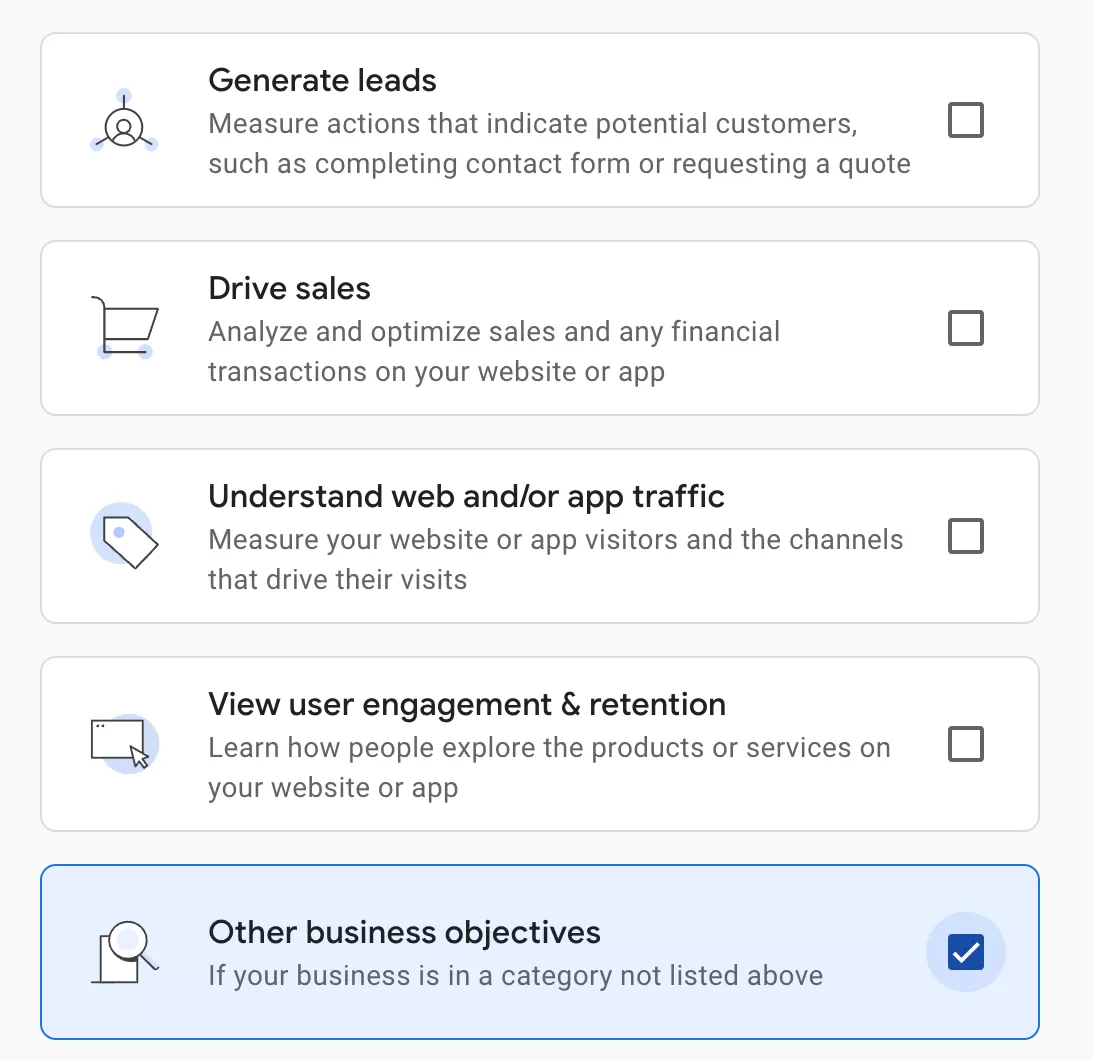
Select the options that best match your objectives, then click「Create」.
Data collection
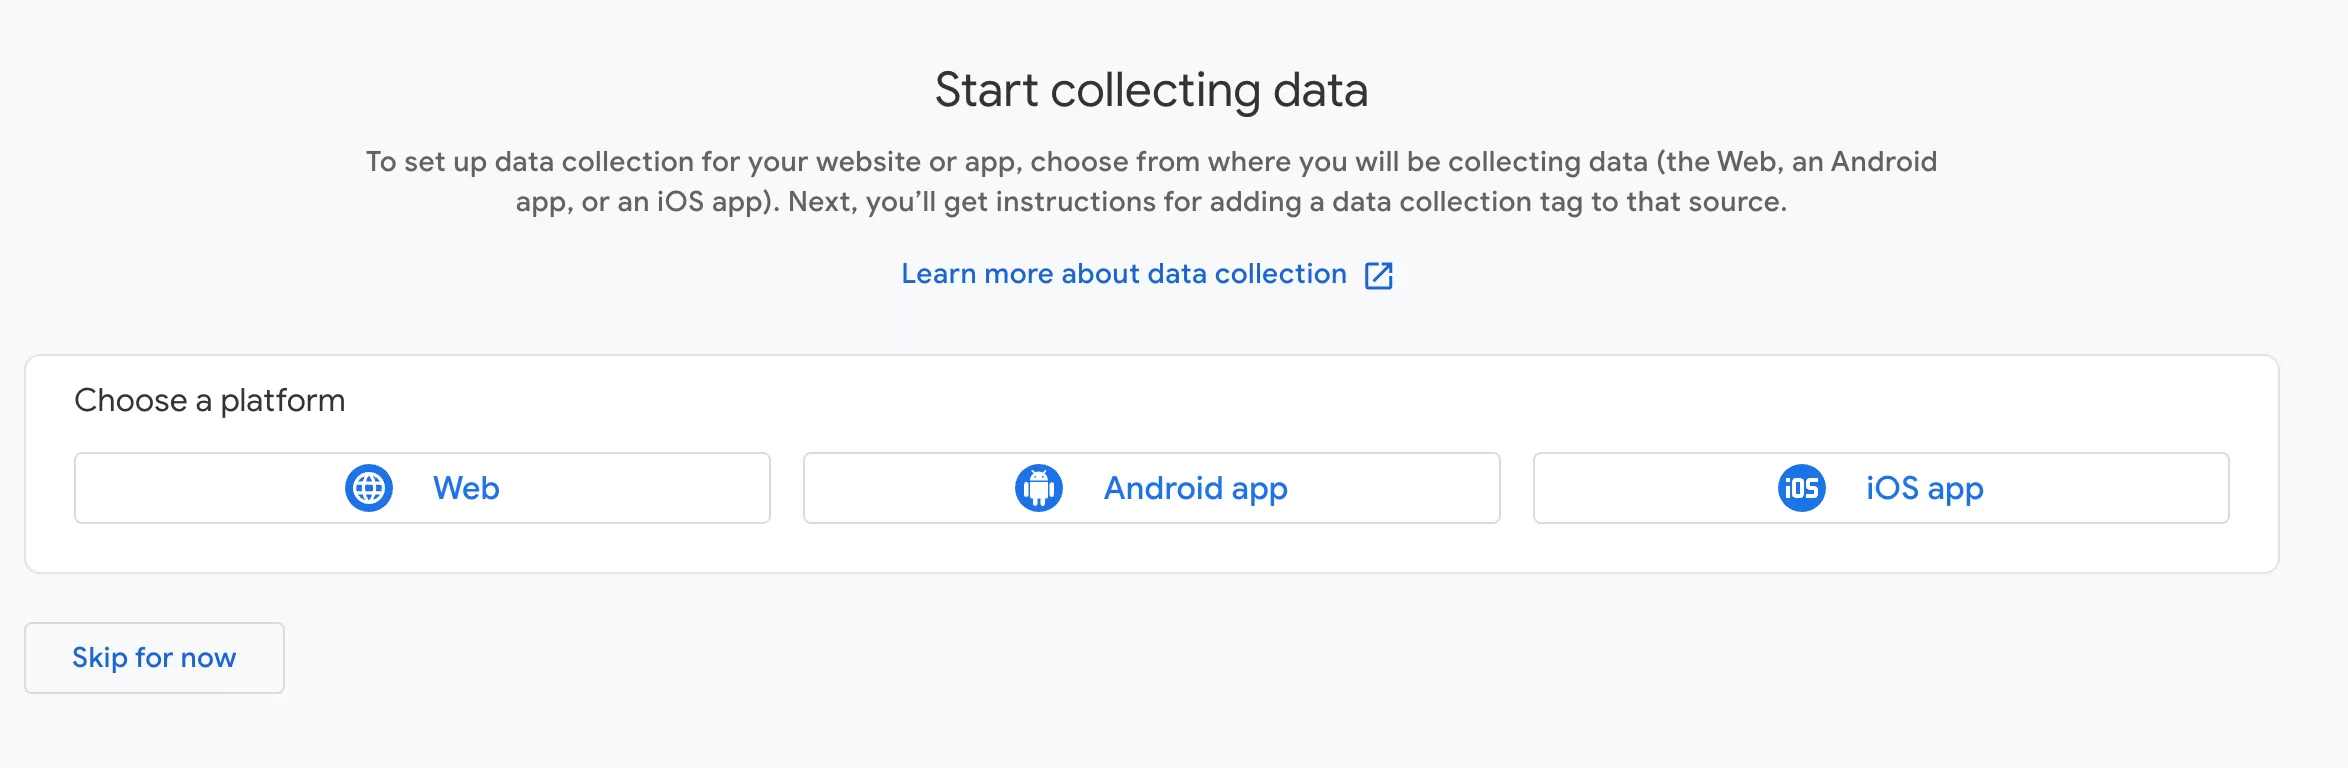
Step 2:Configure the Web Data Stream
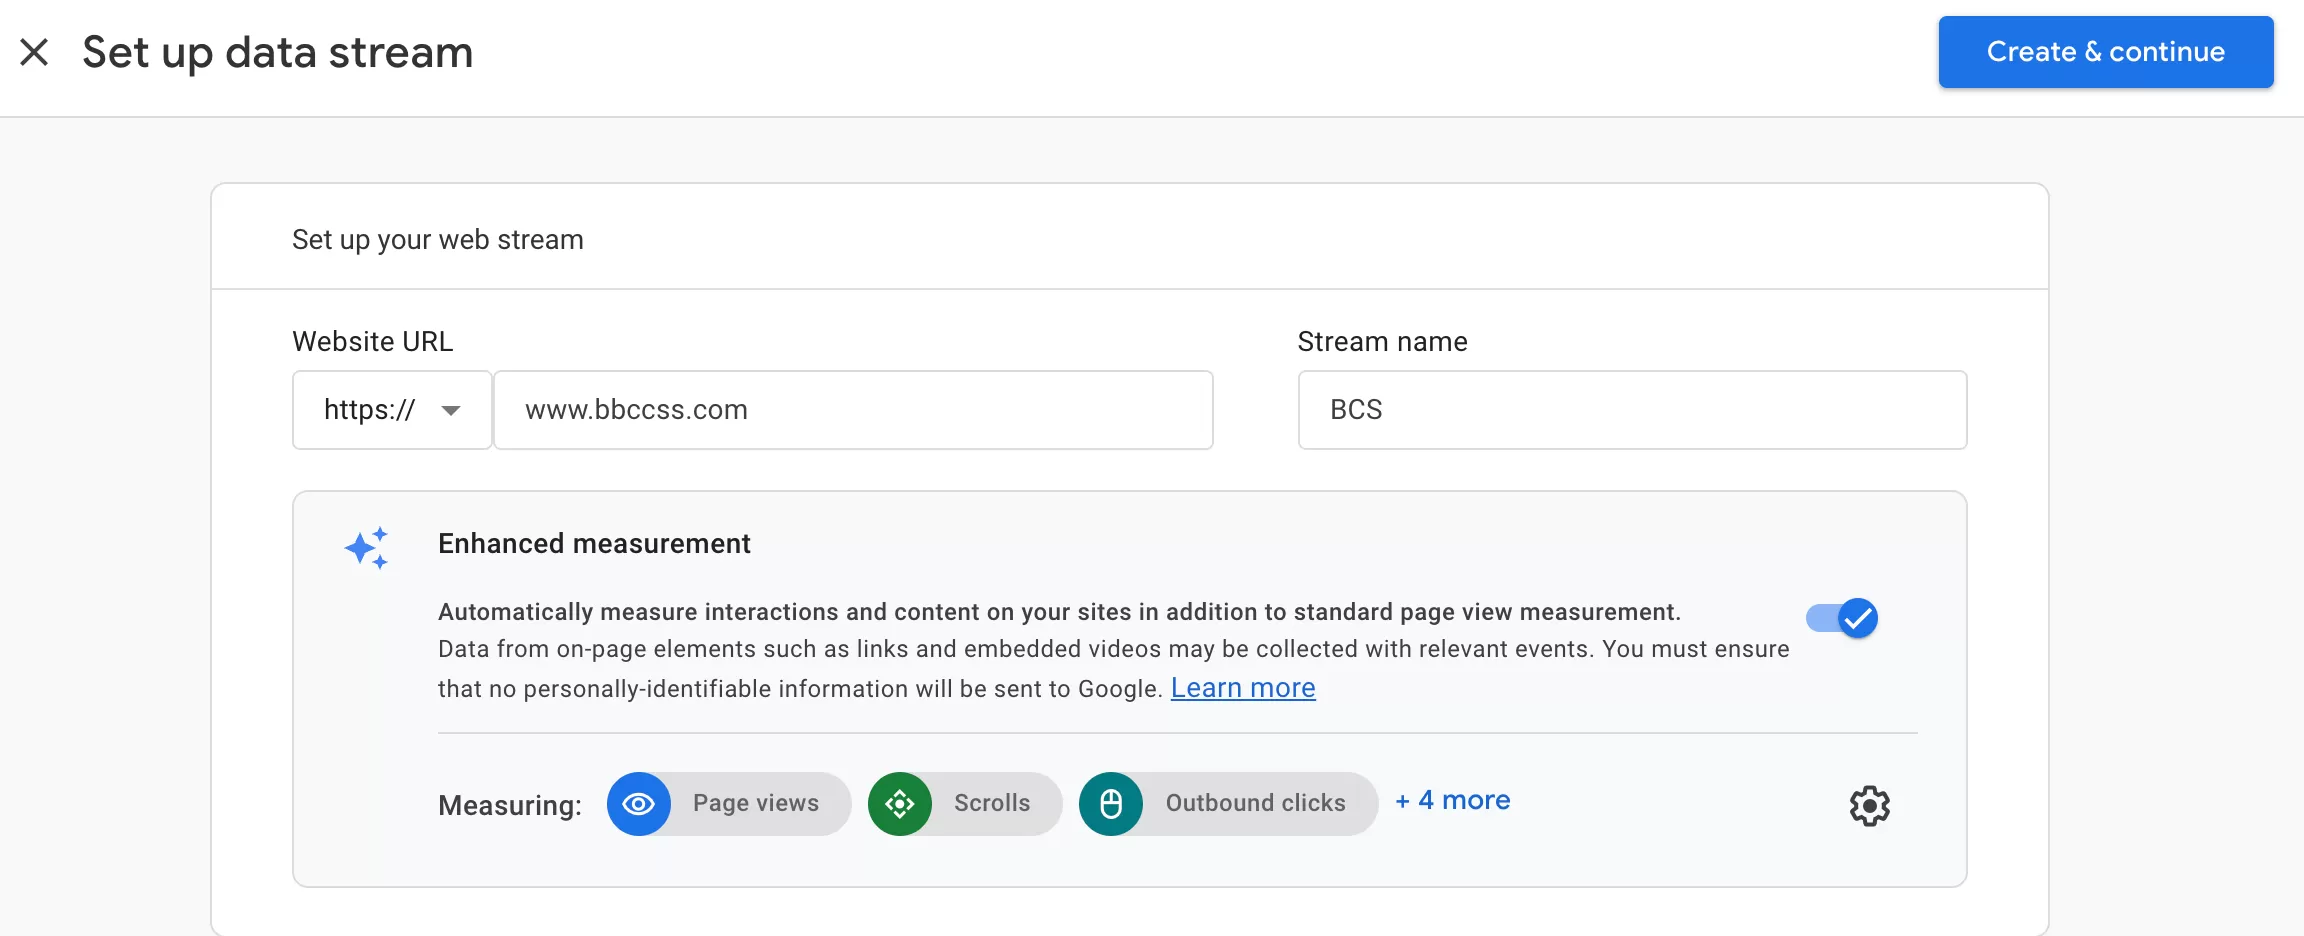
- Website URL: Enter the homepage URL of your website.
- Stream name: Provide a name for the website or data stream.
- Enhanced measurement: This feature automatically tracks several common interactions (such as page views, scrolls, and outbound clicks). By default, all options are enabled. You can disable any that you do not need.
After completing the setup, click「 Create & Continue」to create Data Stream.
Once the Data Stream is created, you will see its details:
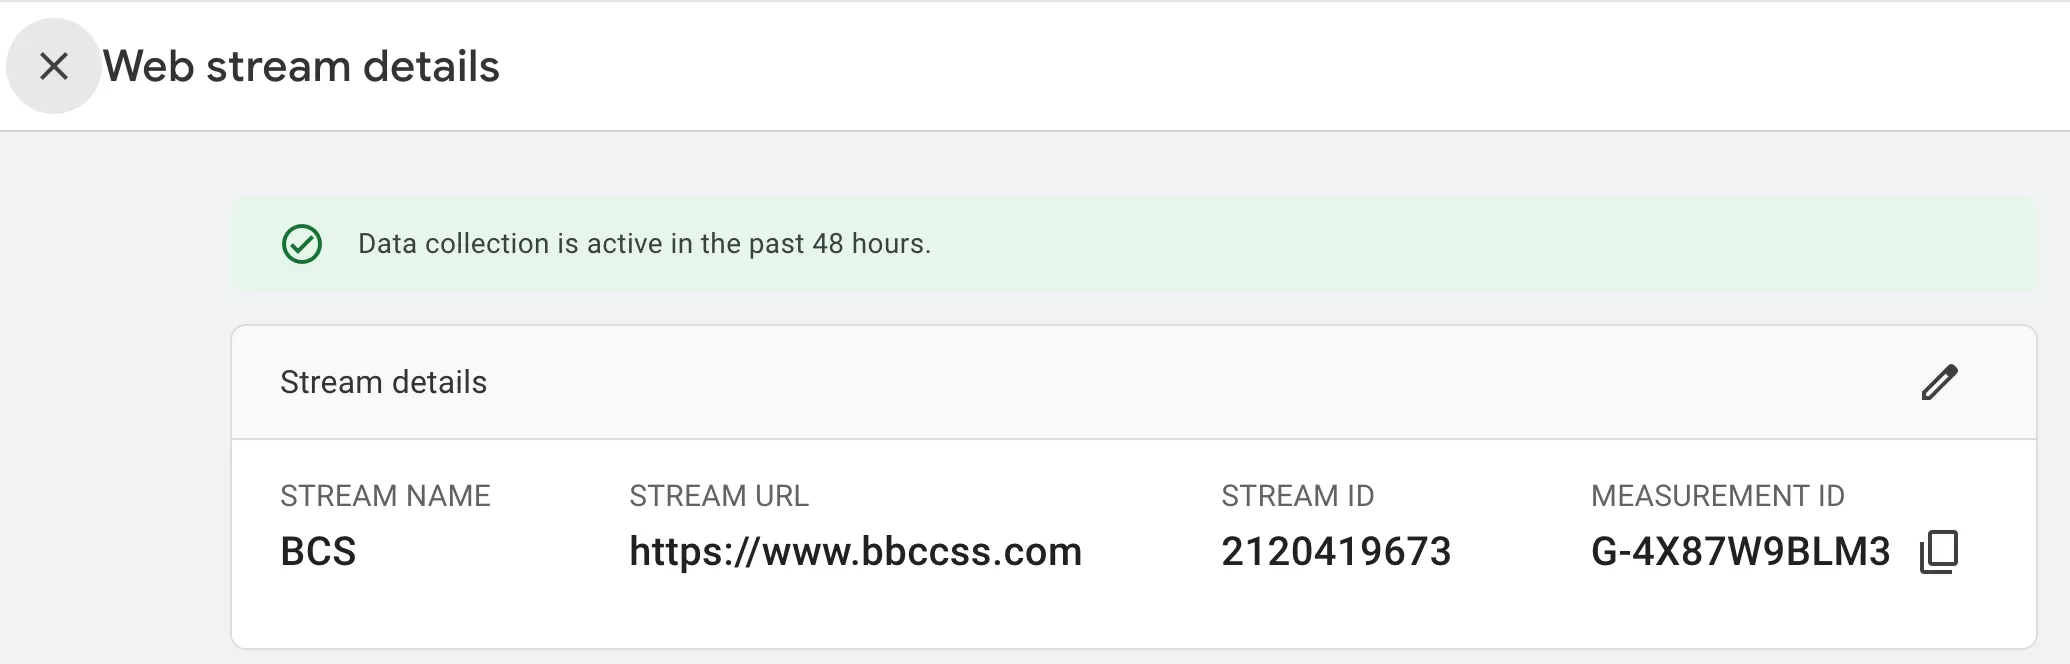
- STREAM URL: Your configured website URL
- STREAM NAME: The name you assigned
- MEASUREMENT ID: Used for web tracking
- STREAM ID: Internal GA4 identifier (mainly used for app configurations)
Step 3:Install gtag on Your Website
In Web stream details ,click「Installation instructions」——「Install manually」
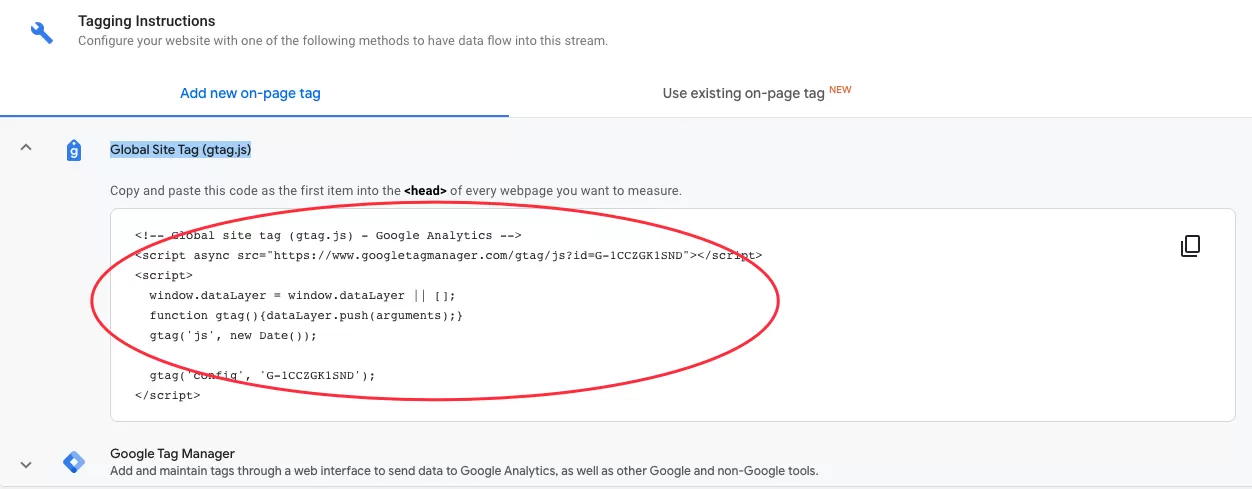
Copy the gtag code snippet provided in GA4, log in to your website server or CMS, paste the code inside the <head> section of your website template.
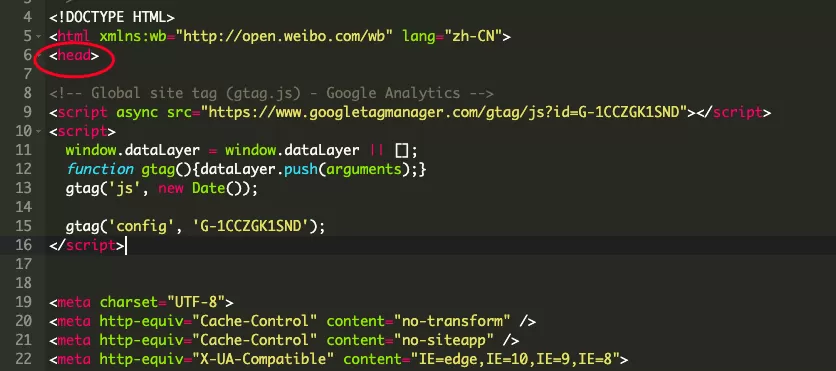
If you do not have server access, send the code snippet to your developer and ask them to add it to the site.
Step 4:Test and Verify the Installation
After installation, you should verify that GA4 is receiving data correctly.
Open Developer Tools in your browser and go to the Network tab. Filter requests using v=2
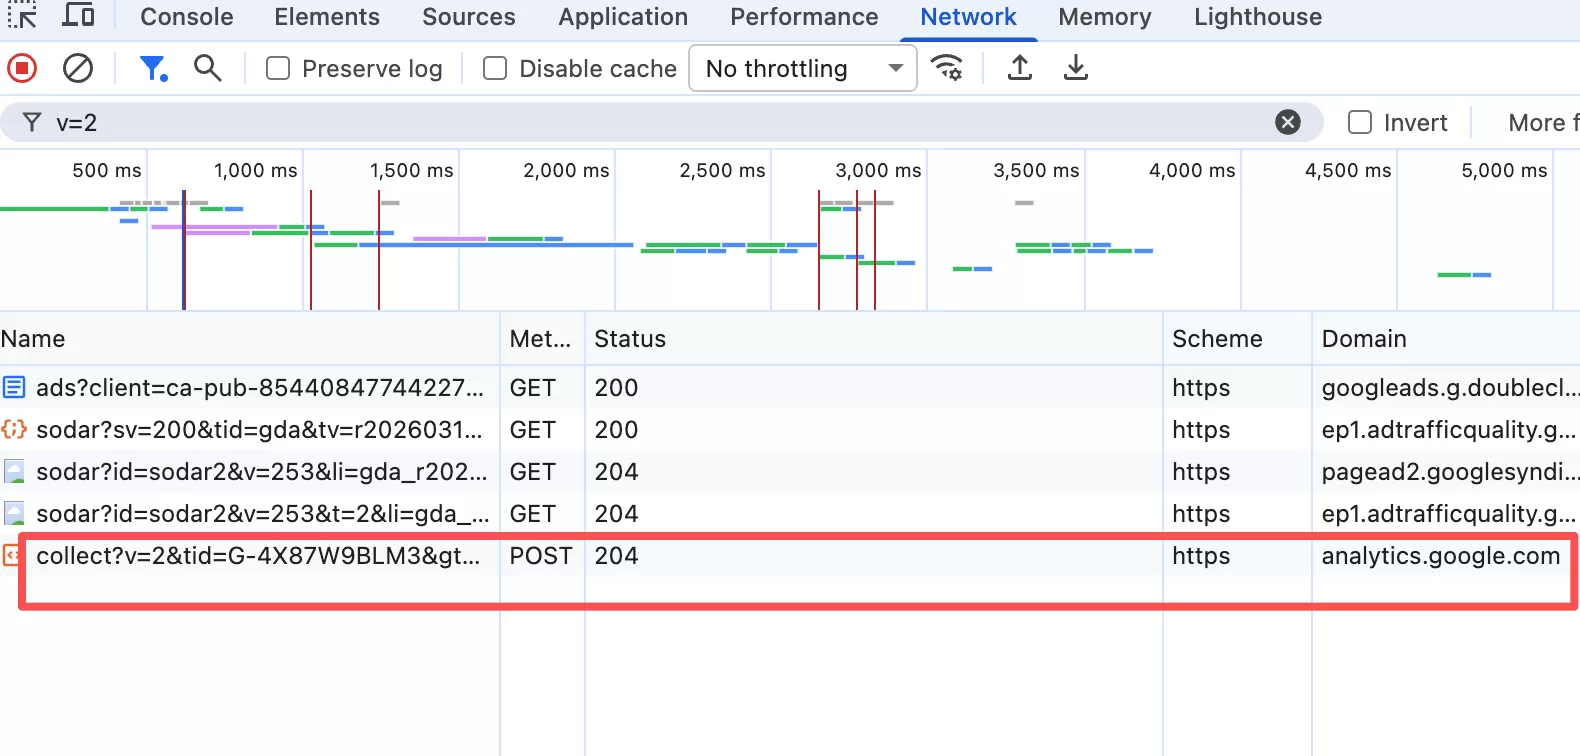 If GA4 is working correctly, you should see requests sent to the GA4 collection endpoint (e.g., google-analytics.com/g/collect).