Update time: March 13, 2026
In this article I will show you how to deploy Google Analytics 4 through Google Tag Manager.
Install Google Tag Manager
Creates GTM Container
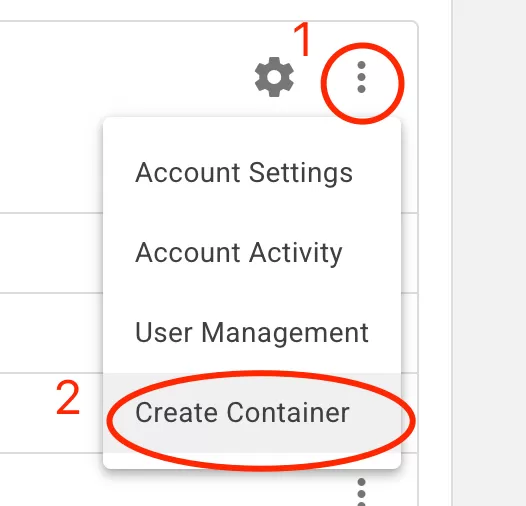
First, create a container in GTM, click「⋮」——「Create Container」:
Then see the setting interface of the Create Container:

- Container Name:Custom container name, usually fill in the domain name, here it is named http://www.bcs.com
- Target Platform:According to the actual situation, choose Web here.
Finally click 「Create」 to create a new container.

Deploy the GTM Library Code to the Website
Click to open the container you just created, click「Admin」——「Install Google Tag Manager」:
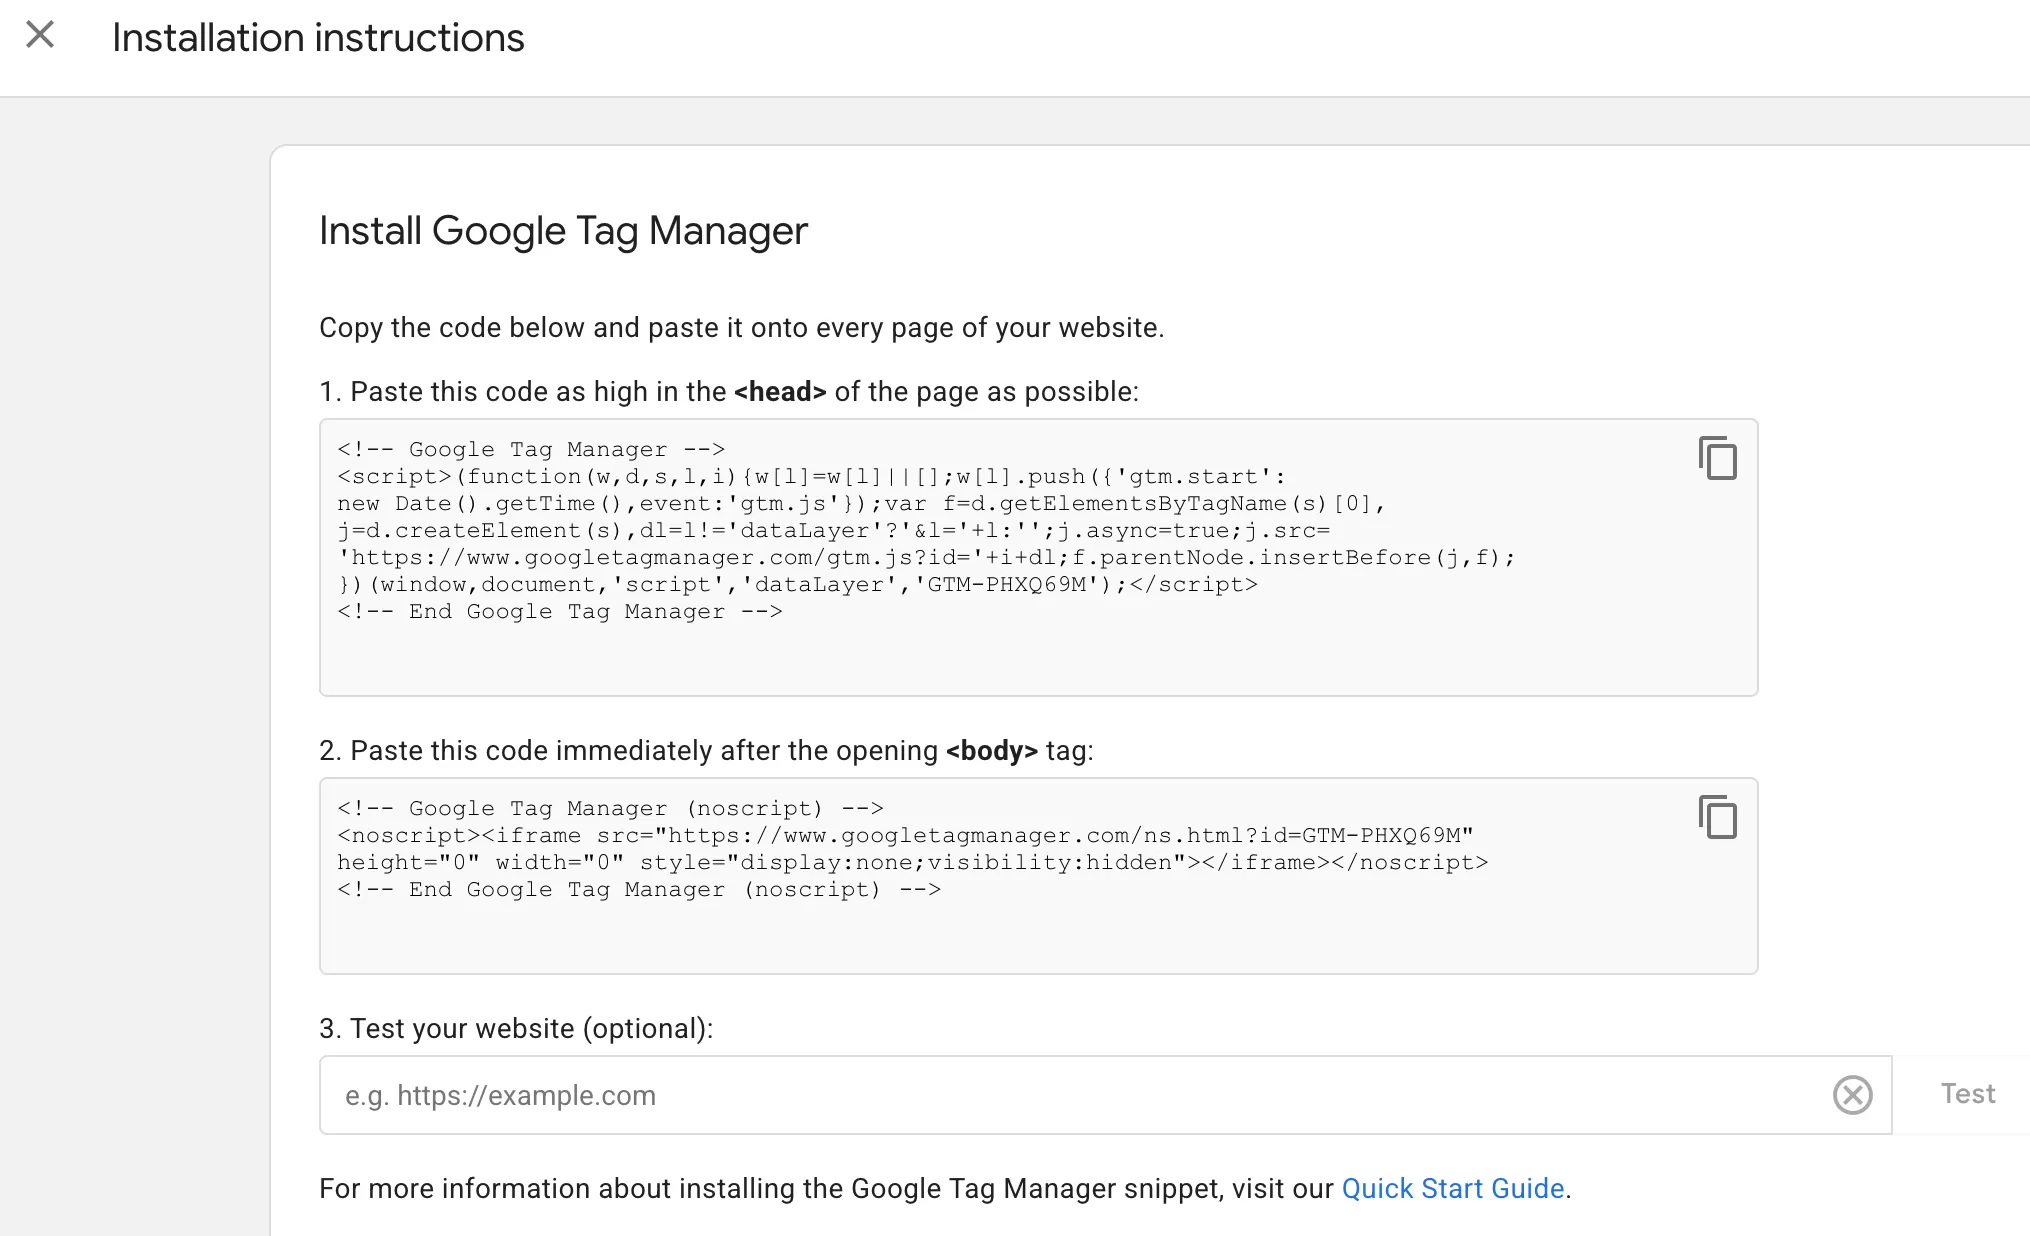
The code has two paragraphs, need to be installed on all pages of the website, usually installed on the template page, one that needs to be deployed to the header, and one that needs to be deployed to the body.

If you don’t have server permissions, you need to let the development colleagues handle it.
Test
Finally, it is time to test. Before testing, you need to publish a version in GTM to ensure that GTM can load normally. Note that if there is no published version, GTM will prompt a 404 error when loading.
In GTM, click 「Submit」——「Publish」 the upper right corner to publish.
Open the website in the browser, then open the browser developer tools, click Network, and then filter with “GTM”. You can see that GTM’s JS can be loaded normally, and the status is 200, indicating that the deployment is fine.

Read More:Install Google Tag Manager on Your Website
Create GA4 Property
In GA4, click 「Admin」——「+Create」——「Property」:

Create Property
Configure the following settings:

- Property name: Typically use your website’s domain name.
- Reporting time zone: Select your local time zone.
- Currency: Choose the currency used for reporting.
After completing the configuration, click 「Next」.
Business Details
Fill in the required business information:
- Industry category (Required): Select the industry that best describes your website or business.
- Business size (Required): Choose the number of employees in your organization.

After completing the configuration, click 「Next」.
Business objectives
These settings help GA4 generate recommended reports and insights based on your business goals:

Select the options that best match your needs, then click 「Create」.
Data collection

Configure the Web Data Stream

- Website URL: Enter the homepage URL of your website.
- Stream name: Provide a name for the website or data stream.
- Enhanced measurement: This feature automatically tracks several common interactions (such as page views, scrolls, and outbound clicks). By default, all options are enabled. You can disable any that you do not need.
After completing the setup, click「 Create & Continue」to create Data Stream.
Data Stream Details
Once the Data Stream is created, you will see its details:

- STREAM URL: The default website URL.
- STREAM NAME: The name of the site or stream.
- MEASUREMENT ID: Similar to the Tracking ID used in Universal Analytics.
- STREAM ID: The internal ID of the data stream.
Both Measurement ID and Stream ID function like tracking identifiers. However:
- Measurement ID is used for Web tracking.
- Stream ID is primarily used for App tracking.
GA4 is now set up. Copy the MEASUREMENT ID, which will be used in the next step.
Configure GA4 on GTM
Configure GA4(Google Tag)
From the previous step, we know that the measurement ID is G-4X87W9BLM3. Create a Constant variable to store it for later reuse.
In GTM, click「Variable」——「New」——「Choose a variable type to begin setup…」——「Constant」, name it “Measurement ID”, and then make the following settings:
In GTM, click「Tags」——「New」——「Choose a tag type to begin setup…」——「Google Analytics」——「Google Tag」, name it “GA4 Tracking Code”, and then make the following settings:

Preview and Test
Next is the preview test. Click 「Preview」 in the upper right corner.

It will open the Tag Assistant:

- Your website’s URL: Enter the domain name to be tested. Here, it is https://www.bbccss.com
- Include debug signal in the URL: Uncheck
Finally, click “Connect” and it will open the website. You will see Tag Assistant Connected in the lower right corner of the website, indicating that it has successfully entered the test state:

Return to Tag Assistant and find Window Loaded in Summary. You can see that the configured GA4 Tracking Code is triggered:

This means that the configuration is fine.
You can also verify it in GA4’s Debugview and real-time reports, where you can see the data.
Publish
If there are no problems with the test, you can publish it.
In GTM, click 「Submit」——「Publish」 the upper right corner to publish.