Update time: June 5, 2025
In this article I will show you how to install Google Tag Manager on your website
Creates GTM Container
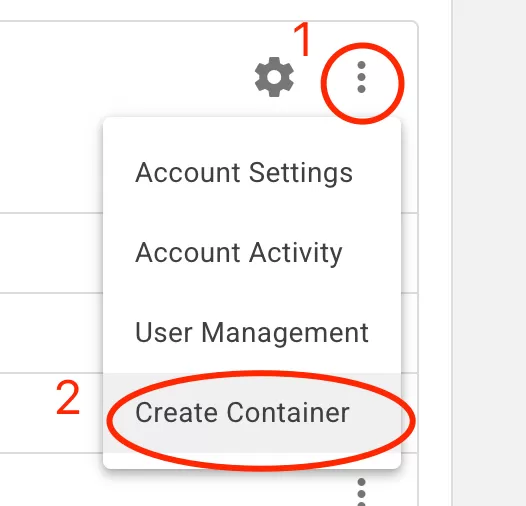
First, create a container in GTM, click「⋮」——「Create Container」:
Then see the setting interface of the Create Container:

- Container Name:Custom container name, usually fill in the domain name, here it is named http://www.bcs.com
- Target Platform:According to the actual situation, choose Web here.
Finally click 「Create」 to create a new container.

Deploy the GTM Library Code to the Website
Click to open the container you just created, click「Admin」——「Install Google Tag Manager」:
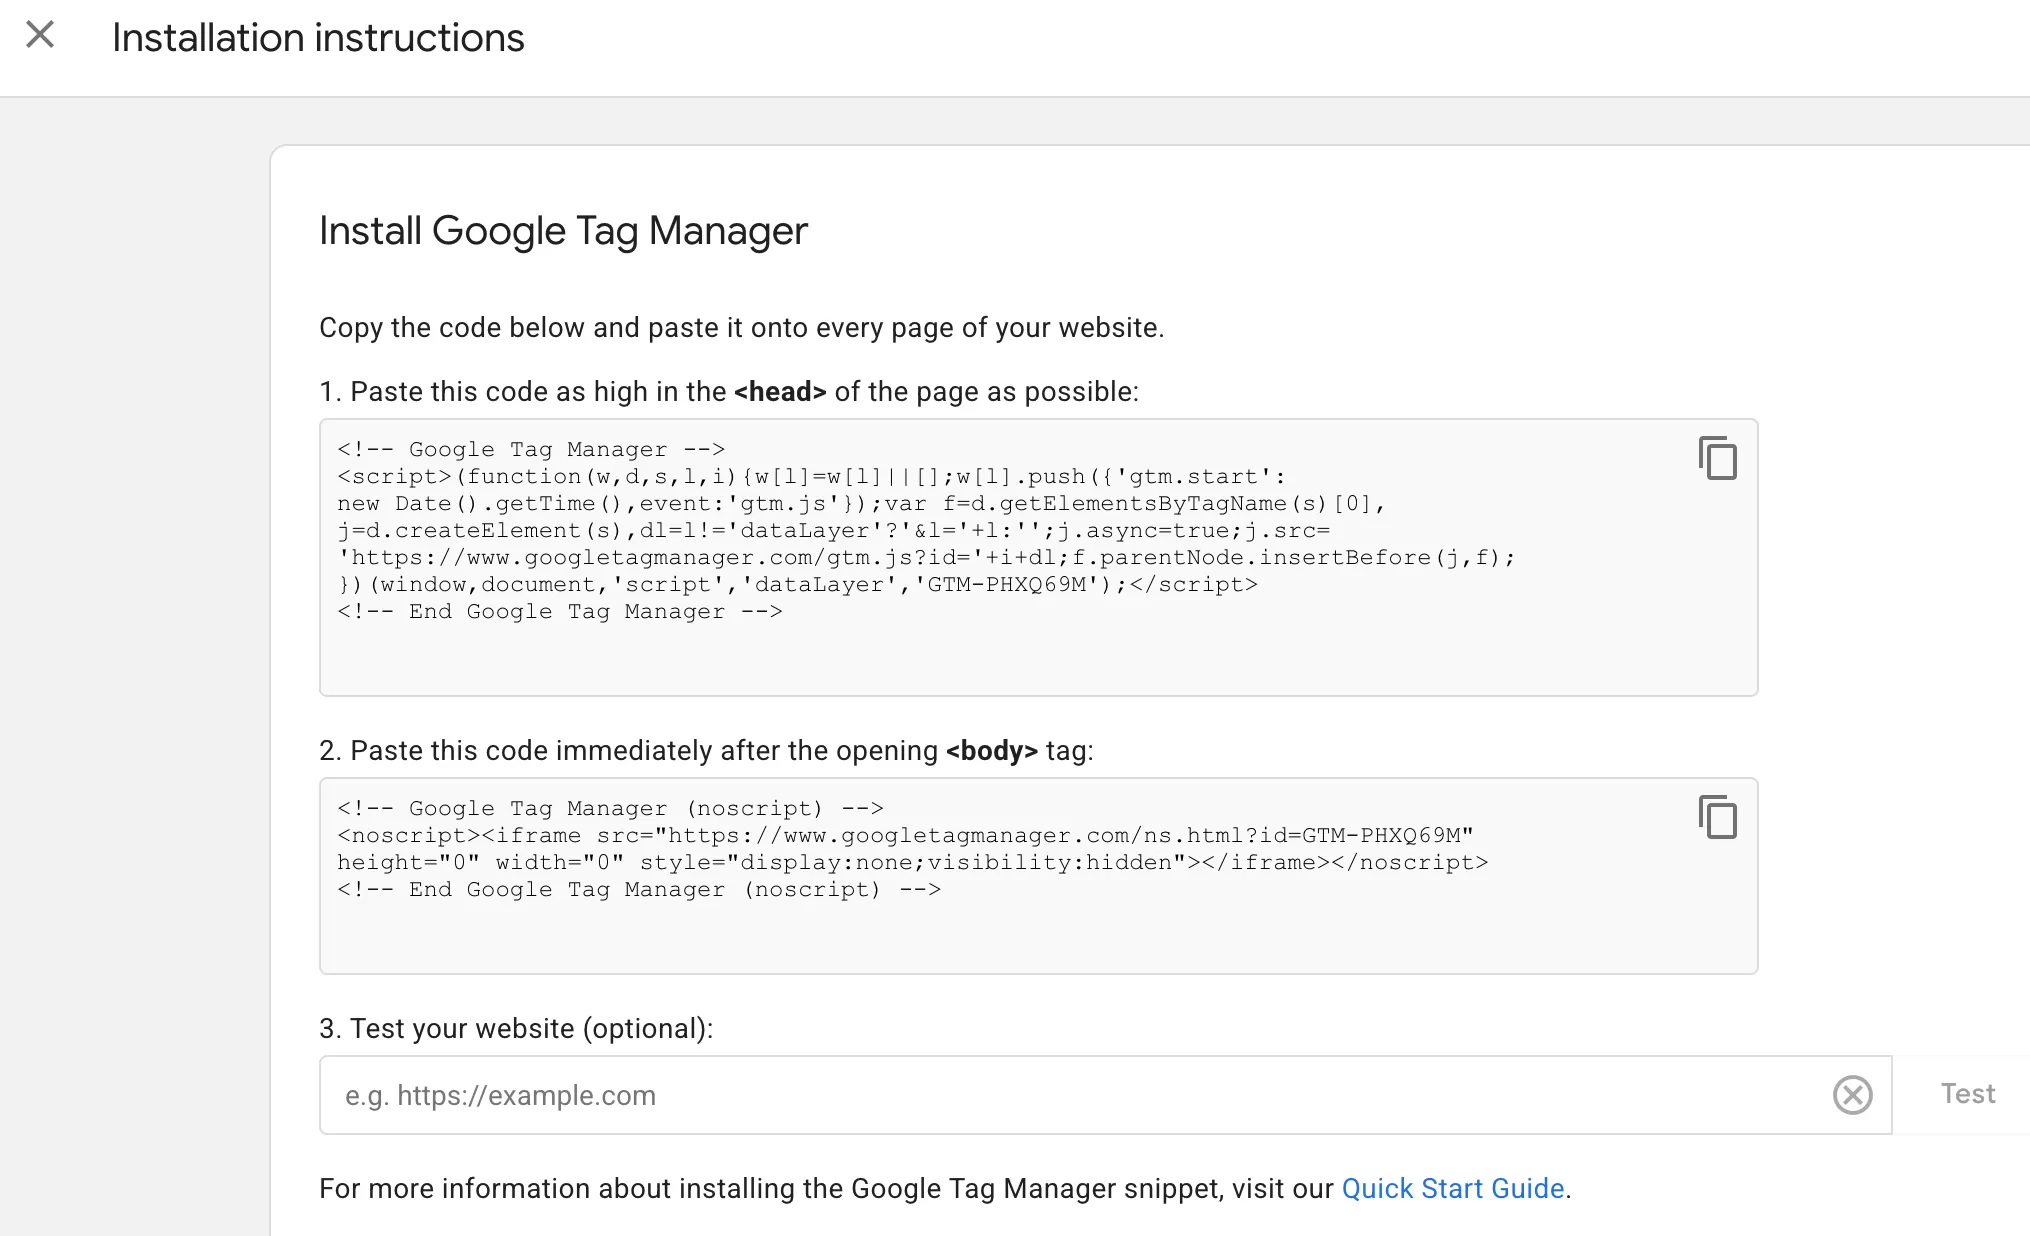
The code has two paragraphs, need to be installed on all pages of the website, usually installed on the template page, one that needs to be deployed to the header, and one that needs to be deployed to the body.

If you don’t have server permissions, you need to let the development colleagues handle it.
Test & Publish
Finally, it is time to test. Before testing, you need to publish a version in GTM to ensure that GTM can load normally. Note that if there is no published version, GTM will prompt a 404 error when loading.
In GTM, click 「Submit」——「Publish」 the upper right corner to publish.
Open the website in the browser, then open the browser developer tools, click Network, and then filter with “GTM“. You can see that GTM‘s JS can be loaded normally, and the status is 200, indicating that the deployment is fine.


